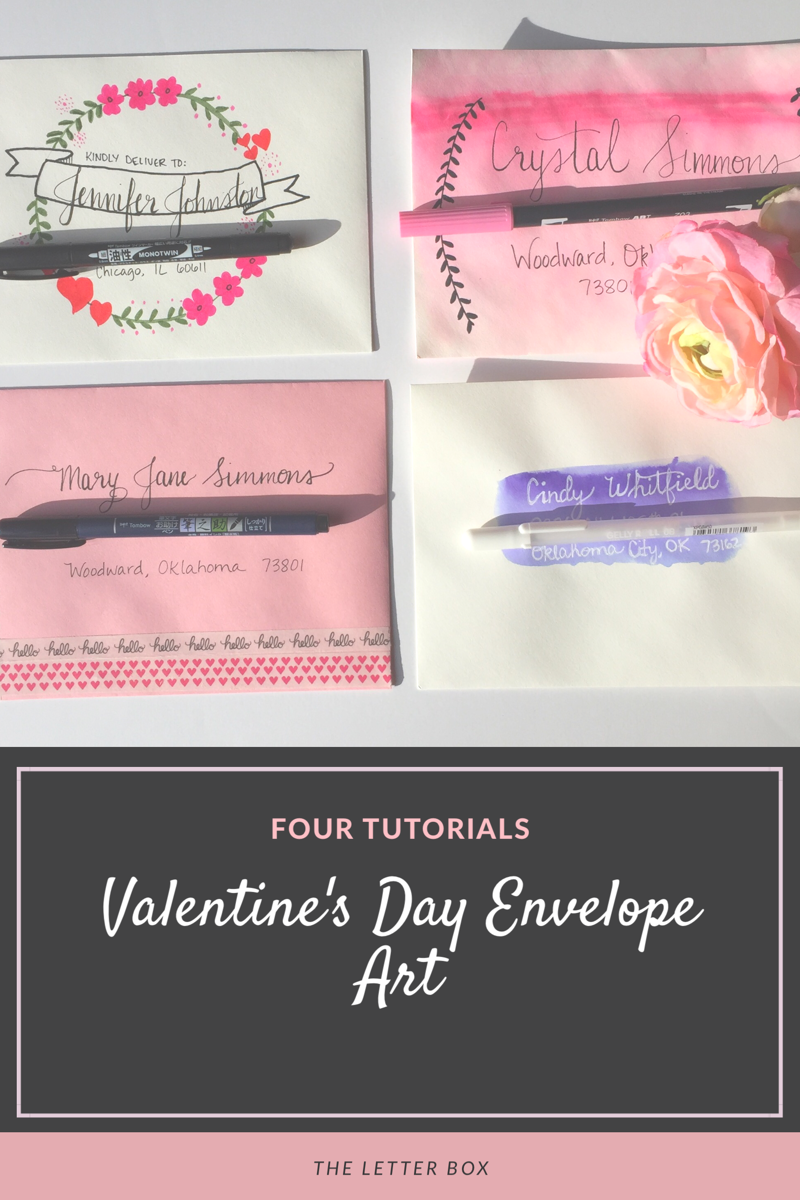
Last week I gave you two Valentine’s Day cards to download. Now, I’m giving you a DIY tutorial on how to decorate the envelopes. My day brightens when a personalized piece of snail mail arrives in the mailbox, but my day is even brighter when that piece of snail mail has more details than just a hand-written name and address. The four tutorials that follow require very little materials, time, and artistic talent, but these envelopes are sure to create a bright spot in a special person’s day.
-
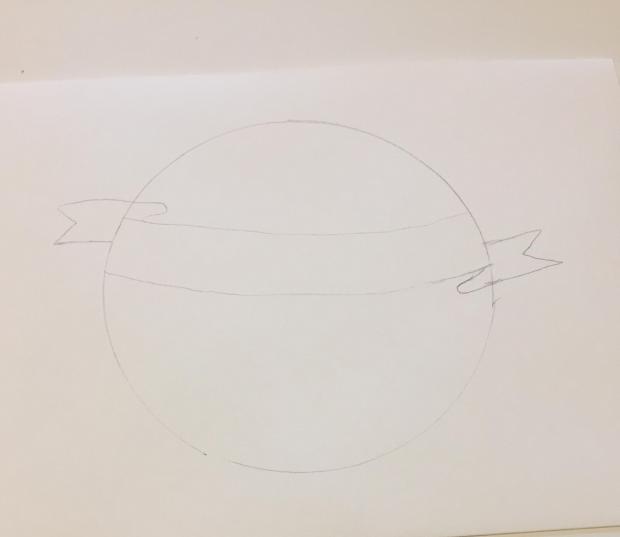
Circle Wreath
To create the circle wreath envelope, begin to draw a circle and banner in the fashion of the picture below.
 Now, fill in the name inside the banner and outline the banner. Write the address inside the lower part of the circle. Next, add hearts and flowers around the border. Fill in the border with green leaves. Finish the circle wreath with some small dot bursts and any additional flourishes you wish. Then, erase any pencil lines. Add the return address to the back of the envelope and add a stamp. Materials used: Tombow Dual Brush Pens, Tombow Monotwin, and a pencil. Click on the links to purchase any materials.
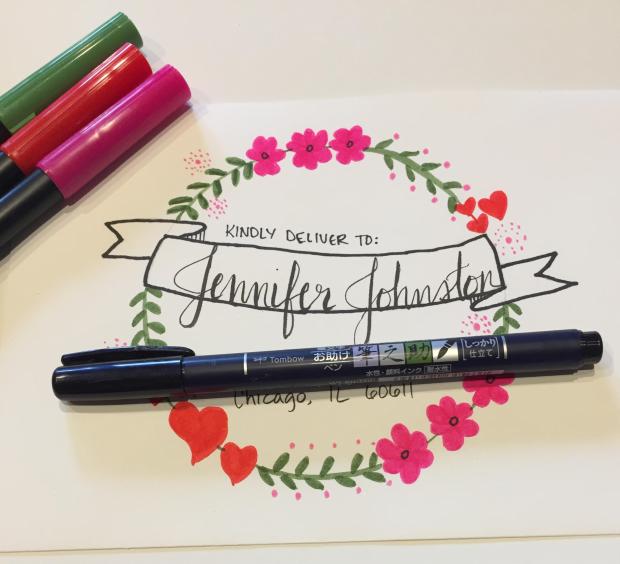
-
Watercolor Wash
For the watercolor wash envelope, you will need a water-based marker in your choice of color. Before you begin to mark on the envelope, make sure you have a cup of water and paintbrush ready to use. When you have your water, paintbrush, and marker all ready to use, darken a strip across the envelope with the marker.
 Then, immediately run your paintbrush with water over the envelope, vertically. The ink will not have dried yet and you can create an ombre look using vertical strokes as you run the paintbrush from the top of the marker strip to the bottom of the envelope. Working quickly so you get to the entire length of the envelope, continue dipping your paintbrush in water and then making vertical strokes from the marker strip to the bottom of the envelope.
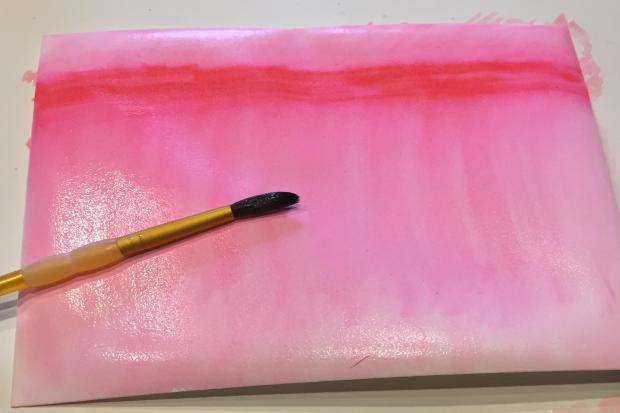
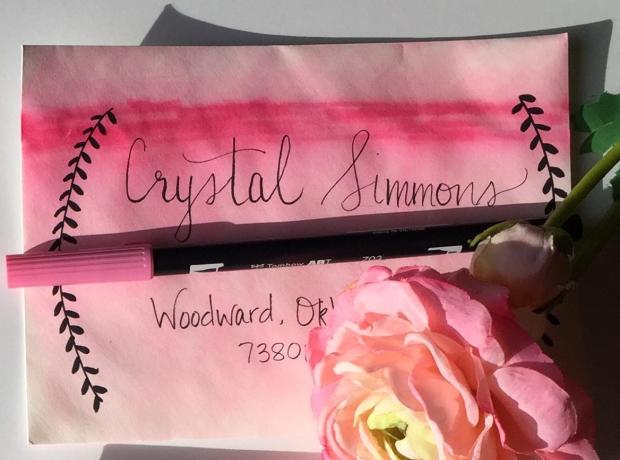 Wait for the envelope to dry completely and then add the address. I added some leaf detail to the envelope, too. Materials used: Tombow Dual Brush Pen, Tombow Fudenosuke Pen. Click the link to purchase materials.
 -
Watercolor Swash
The watercolor swash envelope requires the same technique as the previous envelope, except instead of painting the entire envelope, you only add color to a small area. Like the example above, you will need a cup of water, paint brush, and water based marker ready to begin this envelope. Add the marker color to a small strip on the envelope.
 Now, before the ink has dried, get your paintbrush in water and make vertical strokes from the top of the marker strip downward. You are only going a few inches down for the Watercolor Swash envelope.
 Once the water has dried, use a white gel ink pen to address the envelope. Place the return address on the back of the envelope, add a stamp, and send your lovely piece of mail. Materials used: Tombow Dual Brush Pen and white gel ink pen.
-
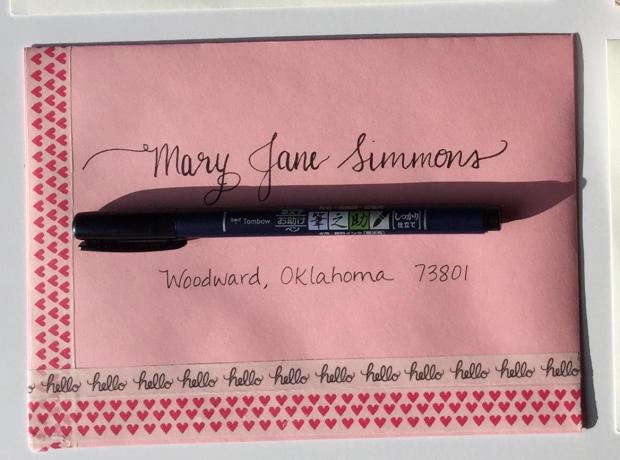
Washi Tape
Washi tape is fun and comes in so very many designs. You are sure to find many Valentine’s Day themed washi tapes in your local stores. To create the washi tape envelope, stick the washi tape onto your envelope. Then, write the address. Place your return address on the back, add a stamp, and send your lovely piece of mail. Materials used: Tombow Fudenosuke Pen and washi tape.
These tutorials can be adjusted for any time of the year, not just Valentine’s Day. Simply use different colors with the same techniques for different looks. Give these tutorials a shot. I think you’ll be pleased with the results!
Make sure to never miss a blog post. Sign up with the link below to receive our blog posts in your e-mail. Email Sign Up
-Jill


These look lovely! Is this a spoiler alert!
LikeLike
Haha! It is a spoiler alert for you!
LikeLike